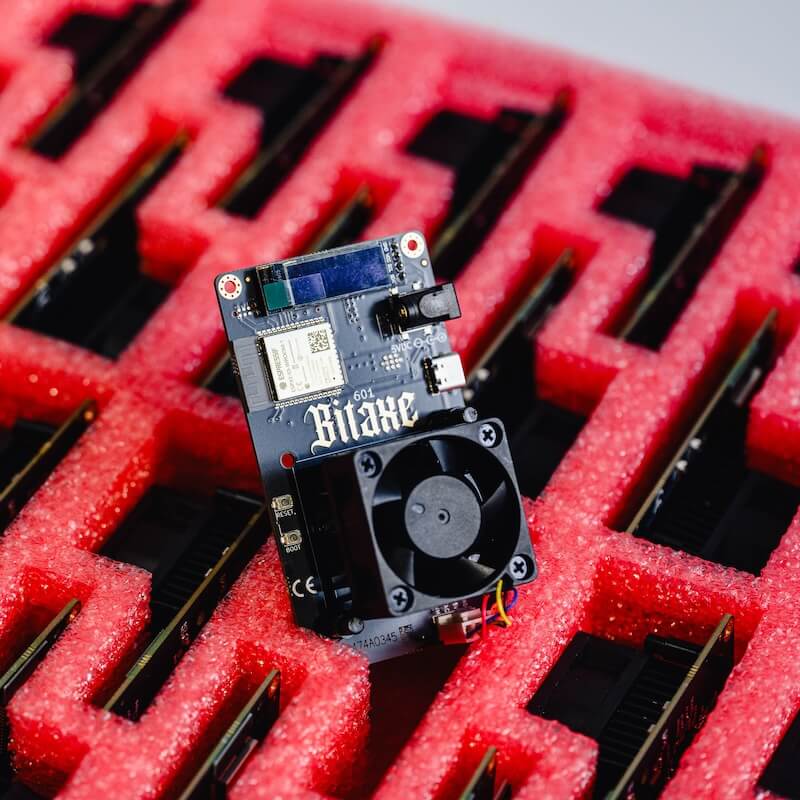
Setting up Bitaxe in 5 minutes and more
Everything you need to know about the Bitaxe Gamma.

Safety measures and handling of the device
- Handle carefully. Avoid dropping the device.
- Keep the Bitaxe Gamma away from water and excessive heat and make sure you operate it in a well ventilated area.
- Ensure you use the correct power input.
- Only using the 5V 6A power supply provided by Power mining, we have tested its compatibility with this device. Using third-party power supplies may lead to damage or safety risk.
- Connecting multiple high-power devices to one outlet can trip breakers or cause a fire hazard.
- Always disconnect the power before carrying out any maintenance or adjustments.
- We provide warranty service for the devices in the EU market according to EU market regulations, while in the rest of the world 90 days. If you need any assistance, please contact support@powermining.io
- Don't open the casing or modify the internals unless directed. This voids warranty.
- Unplug immediately if you see smoke or smell burning. Never use water or electrical fires.
- Follow local waste regulation rules. Recycle parts when possible.
Setup
Attach the stand - push the stainless steel support into a 3D printed case.

Power up your device using the provided 5V 6A power supply.
Make sure that your miner is placed within the range of home 2.4GHz Wi-Fi signal.
1. Use either 📱phone or 💻 computer to locate Bitaxe_XXXX in Wi-Fi settings and connect to it.
2. In the AxeOS pop-up screen (left) enter Wi-Fi SSID and password. Make sure both are correct - this section is case sensitive. Click save and restart.
Find the IP address on Bitaxe display.
3. Access AxeOS by entering the Bitaxe IP address in the internet browser.
Your phone or computer must be connected to the same Wi-Fi network.
4. Under the selection menu navigate to the Pool setting tab.
5. Paste your BTC address in the User field under Pool configuration.
6. Scroll down and click Save.
7. Restart the device to enact changes.
Check out this video!
FAQ
What is the main difference between Bitaxe Gamma and NerdQaxe++?
Bitaxe Gamma is a 5V open-source Bitcoin miner with 1 ASIC chip and achieves ~1.1 TH/s hashrate while consuming ~18W of electricity. At an energy price of $0.20 per kWh, it will cost ~2.5 per month in electricity. Bitaxe has one color OLED display with ESP32 chip on the board.
NerdQaxe++ is a 12V open-source Bitcoin miner with 4 ASIC chips and achieves ~4.8 TH/s hashrate while consuming ~80W of electricity. NerdQaxe++. At an energy price of $0.20 per kWh, it will cost ~$11.5 per month in electricity. NerdQaxe ++ has a LilyGo T-Display-S3 LCD display with a built-in ESP32 chip.
How much can I make with these devices?
Disclaimer: both Bitaxe Gamma and NerdQaxe++ are more like hobby devices so do not expect financial returns on these.
The default mining mode is solo mining (lottery mining). That means you either get 3.125 BTC to the set BTC address or nothing. You check the probabilities for finding a Bitcoin block here.
To mine with regular payouts we suggest making an account with pool.braiins.com as they support Lightning Network for Bitcoin transactions with low fees. You can use their profitability calculator to get an understanding on how much you can mine with these.
What is the point of owning a home miner like Bitaxe or NerdQaxe++?
By owning and running a home miner such as Bitaxe or NerdQaxe++ you can learn about Bitcoin mining while decentralizing the hashrate. Miners like Bitaxe and NerdQaxe++ are fully open-source technology which is ideal for education and experimentation with active community support and continuous updates and firmware improvements.
Technical FAQ
How can I access the dashboard?
Check the screen of your Bitaxe & NerdQaxe++. There will be an IP address (such as 192.168.18.21) displayed if it is connected to the WiFi successfully. Enter this IP address in the Internet browser (such as Google Chrome, Firefox, Brave etc). Make sure to be connected to the same WiFi network as your miner. Try with other browsers if one does not open up the dashboard.
What to do if my miner is not connecting to the WiFi?
You can try the following things:
1. Check if the name (WiFi SSID) and password is correct.
2. Disable VPN is you have one
3. Check if your WiFi supports 2.4 GHz network. Bitaxe doesn't support 5 GHz WiFi networks.
4. Try connecting to a phone hotspot to check if it works (if you are using iPhone, please enable “Maximise Compatibility" under Personal Hotspot settings).
5. Try connecting to a phone hotspot if nothing helps.
Check out a setup video https://www.youtube.com/watch?v=tEp5Bh2pofY&t=220s
What if my miner is connected to the WiFi, but not hashing?
If your device is connected to the WiFi and you can access the dashboard Please double check if your pool settings are correct (Stratum Host & Stratum Port). Make sure to copy the Bitcoin address (Stratum User) without any mistakes. If any of these settings are incorrect, the device will not mine.
What if my Bitaxe overheats?
It is possible for Bitaxe to overheat in hot, poorly ventilated rooms. If the Bitaxe overheats in normal room temperature it might be necessary to change thermal paste and blow the dust from the heatsink & fan.
It is possible for the thermal paste to lose thermal conductivity if Bitaxe is handled by the heatsink or fan too much. Thermal paste may also perform worse after extended periods of use.
What if something is wrong with Bitaxe, but I don't know what?
You can try to reflash (reset) the device using Bitaxe webflasher:
- Connect Bitaxe using USB C cable (probably named USB JTAG/...)
- Select the device Gamma.
- Select board vision - 601.
- Select the latest firmware version.
- Select "Keep configuration".
- Start flashing.
